

Check Wisp's Receipt in the Verification Center
One click on the 'Private' button opens the Verification center, which maps where your prompt goes and displays a signed receipt from the hardware enclave that handles it.
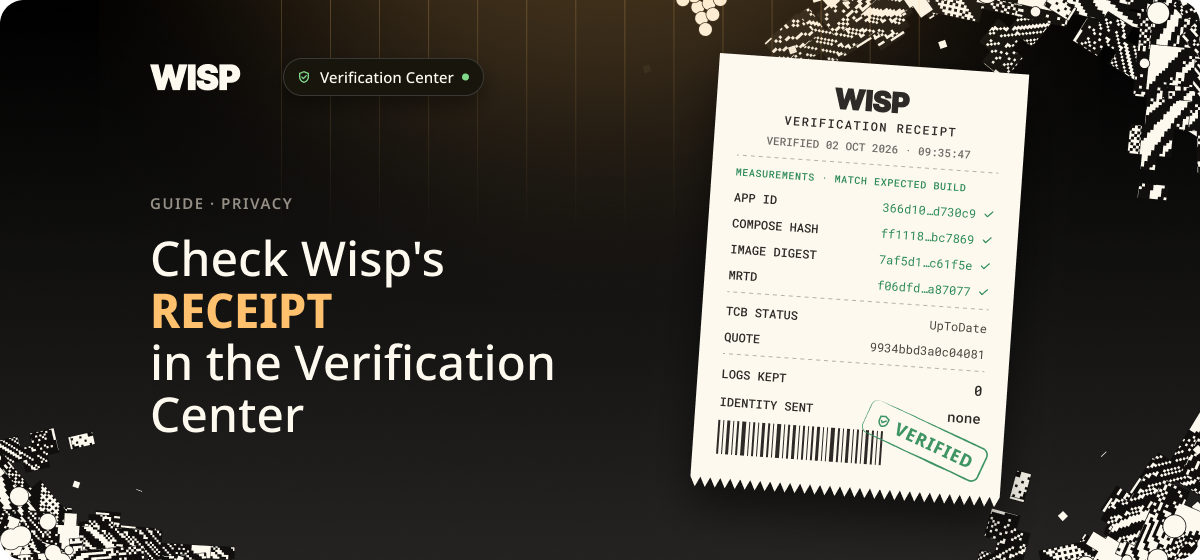
Check Wisp's Receipt in the Verification Center
One click on the 'Private' button opens the Verification center, which maps where your prompt goes and displays a signed receipt from the hardware enclave that handles it. This guide walks through what each part means and what to look for.
What you get
Where your prompt travels, step by step, and which steps happen on your own machine. A live receipt from the enclave, checked against the build it's supposed to be running. A green check you can open up and inspect, line by line.
How it works (30-second version)
Your chats and files stay on your device. When Wisp needs a model, the request passes through an anonymizing proxy that runs inside a hardware enclave (a TEE, short for trusted execution environment). The proxy strips your identity, then the model provider answers without knowing who asked.
You (local) → Wisp agent (local) → Anonymizing proxy (TEE) → LLM provider (TEE)
Before your prompt leaves, Wisp asks the enclave for a signed receipt, called an attestation, and checks that the code inside matches the build it expects. No receipt, no send.
Part 1 — Open the Verification center
In any chat, click Private with the padlock, in the top-right corner of the window. The panel opens beside the conversation. Click it again to close it.\

Part 2 — Read the data flow
The top half, How your data flows, shows the four stops a request makes and where each one runs:
- You (LOCAL): your chats, files and prompts, on your device.
- Wisp Agent (LOCAL): runs on your machine, with encrypted storage.
- Anonymizing Proxy (TEE): a hardware enclave that is stateless and logs nothing.
- LLM Provider (TEE): receives the prompt without your identity attached.
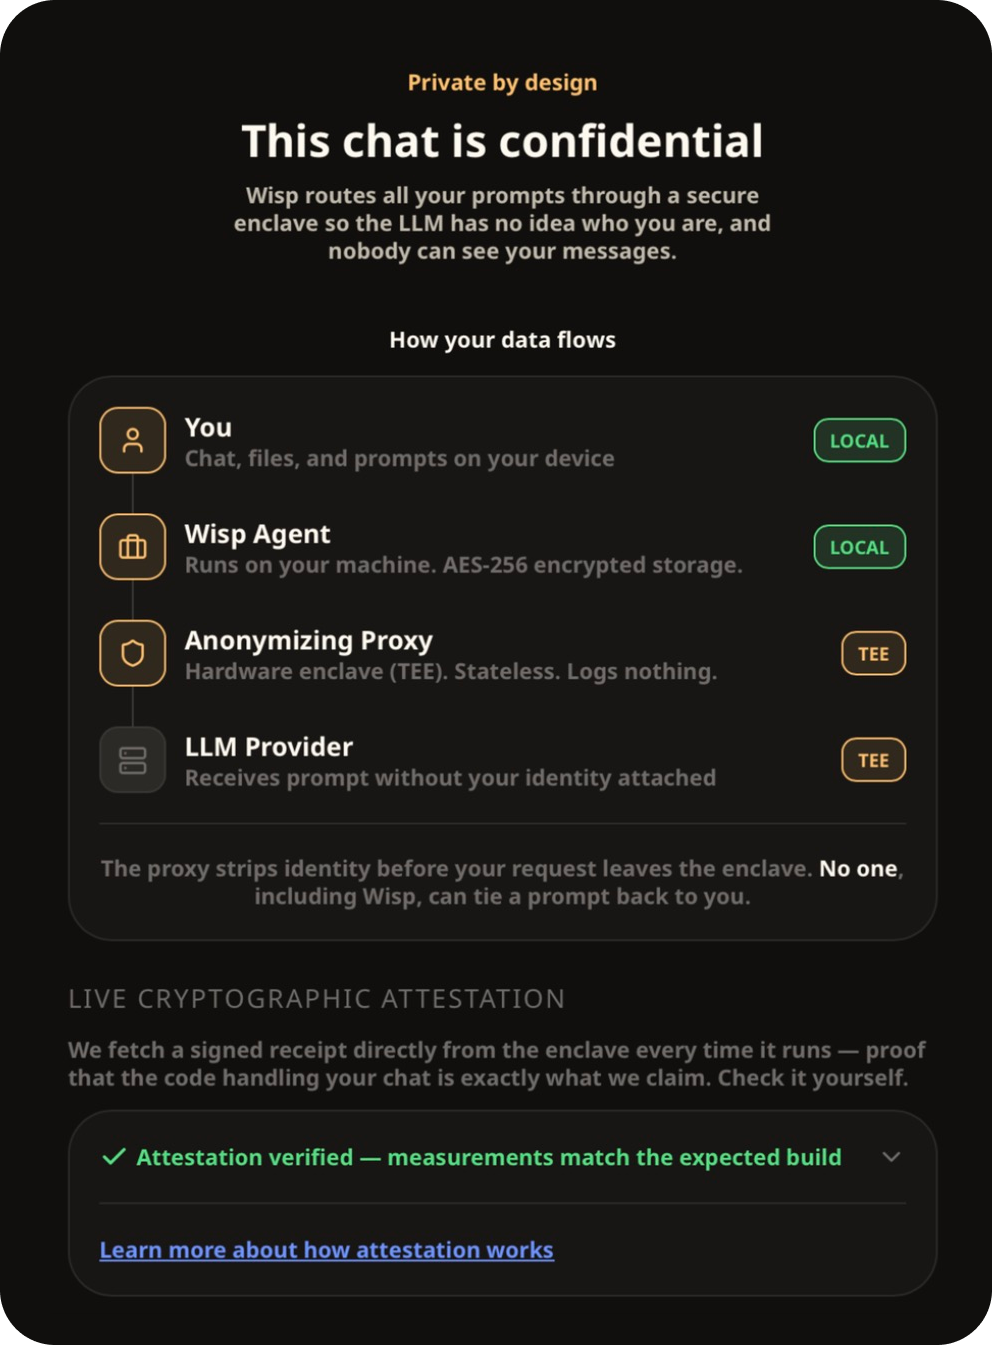
ℹ Identity, not content The proxy removes who sent a request. It doesn't rewrite what you typed. If a prompt contains your name or your client's, the model sees those words, but it has no way of knowing they came from you.
Part 3 — Check the receipt
Under Live cryptographic attestation, a green line should read Attestation verified — measurements match the expected build. Click the arrow next to it to see the evidence.

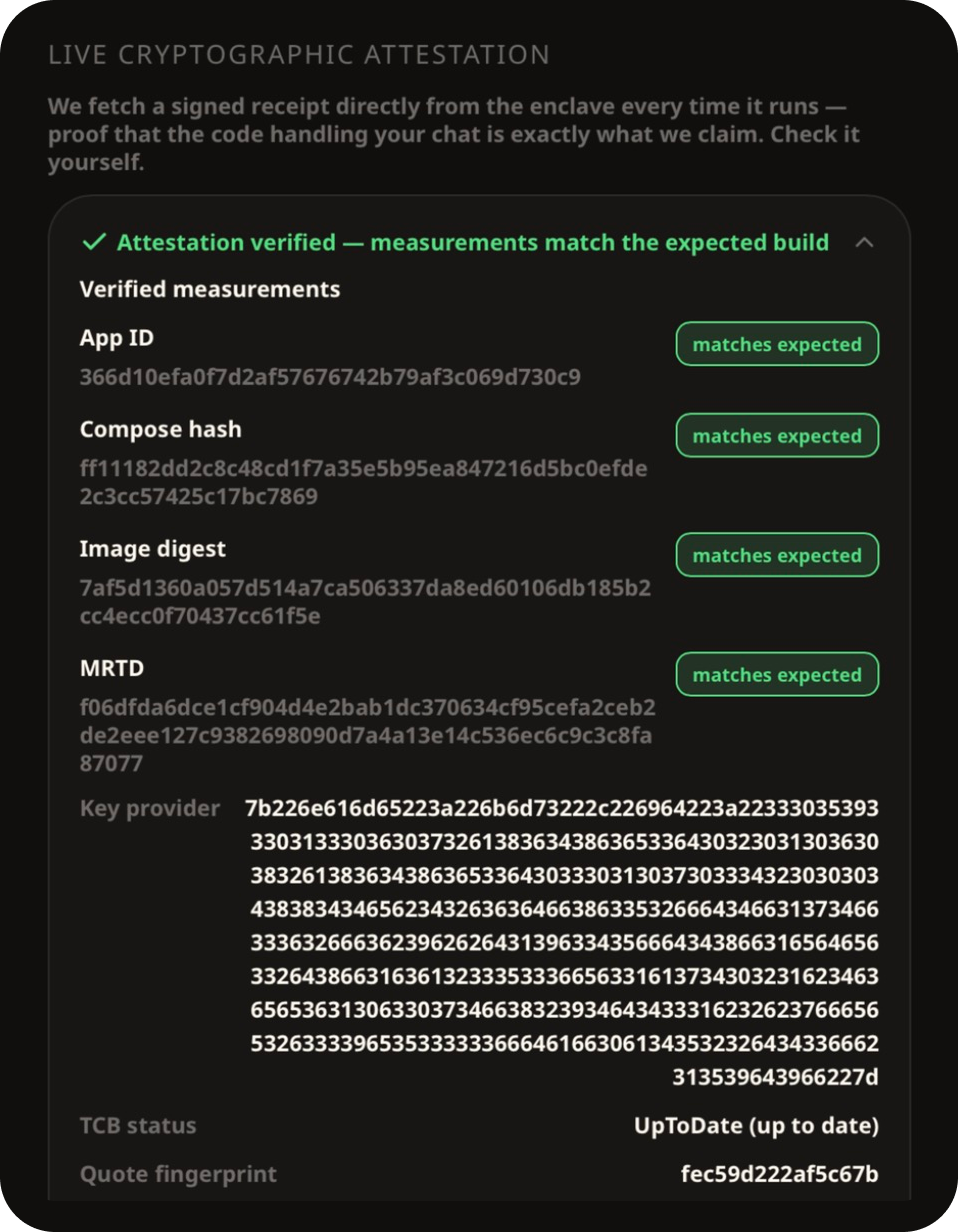
Each measurement is a fingerprint. Change a single byte of the software and the fingerprint changes, so a match means the enclave is running exactly what it should:
- App ID: identifies the application deployed in the enclave.
- Compose hash: a fingerprint of the app's configuration, meaning which software runs and how it's set up.
- Image digest: a fingerprint of the exact software image that's running.
- MRTD: a measurement of the enclave's virtual machine, taken by the hardware itself as it starts.
- Key provider: identifies the service that issues the enclave its encryption keys.
- TCB status: whether the hardware's security firmware is up to date. You want UpToDate.
- Quote fingerprint: a short ID for this particular signed receipt.
- Verified at: when the check ran.
You don't need to read the hex. The four matches expected badges and the green check are the parts that matter.
Part 4 — The small print under every chat
Three labels sit under the message box in every conversation: Encrypted, Never used for training and Private Search. They're a quick reminder of the defaults that apply to everything Wisp does, on every plan.


Why receipts matter
"We don't read your chats" is a promise, a receipt is actual evidence.
Most AI tools ask you to trust their policy page, while the Verification center lets you check, in the moment, that the code handling your prompt is the code Wisp says it is.
That matters most for the work people hesitate to put into an AI at all: contracts, board notes, medical questions, the numbers before they're announced.
With Wisp, the history stays encrypted on your machine, the prompt reaches the model without your name on it, and nothing trains on your conversations.
Troubleshooting
| Symptom | Cause & fix |
|---|---|
| You can't find the Verification center | It's the Private button with the padlock, top right of the Wisp window. |
| The measurements aren't showing | The details are folded away by default. Click the arrow next to Attestation verified. |
| The panel covers half your chat | Click Private again to close it. |
| The hex strings don't mean anything to you | They don't need to. Check for the green Attestation verified line and the matches expected badges. |
| You see anything other than a green check | Hold off on sensitive prompts and contact the Wisp team. |